Creating a Multi-Tenant Application with CodeIgniter: A Complete Guide
Building a multi-tenant application allows you to serve multiple customers (tenants) from a single codebase. This is the backbone of modern SaaS (Software as a Service) products. In this guide, we will explore the best strategies for implementing multi-tenancy in CodeIgniter to reduce overhead and improve scalability.
What is Multi-Tenancy in Web Applications?
Multi-tenancy is an architecture where a single instance of a software application serves multiple independent tenants. While tenants share the same infrastructure, their data is strictly isolated. Think of it as an apartment building: the structure is shared, but every tenant has their own private space.
Why Use CodeIgniter for SaaS?
- Lightweight Performance: CodeIgniter 4 is exceptionally fast, which is crucial when handling multiple tenants.
- Flexibility: It doesn't force a specific structure, allowing you to implement custom isolation logic.
- Easy Configuration: Dynamically changing database connections is straightforward in CI4.
Top 3 Multi-Tenancy Database Strategies
Choosing the right database architecture is the most important decision in a CodeIgniter multi-tenant project.
1. Separate Database per Tenant
Each tenant has a completely different database.
- Pros: Maximum security and data isolation.
- Cons: Higher management overhead (migrations must run on all DBs).
- Best for: Enterprises with strict data compliance needs.
2. Shared Database, Separate Schemas
Tenants share a database server but have unique logical schemas.
- Pros: Good balance between isolation and resource usage.
- Cons: Not supported by all database engines (e.g., MySQL doesn't use schemas like PostgreSQL).
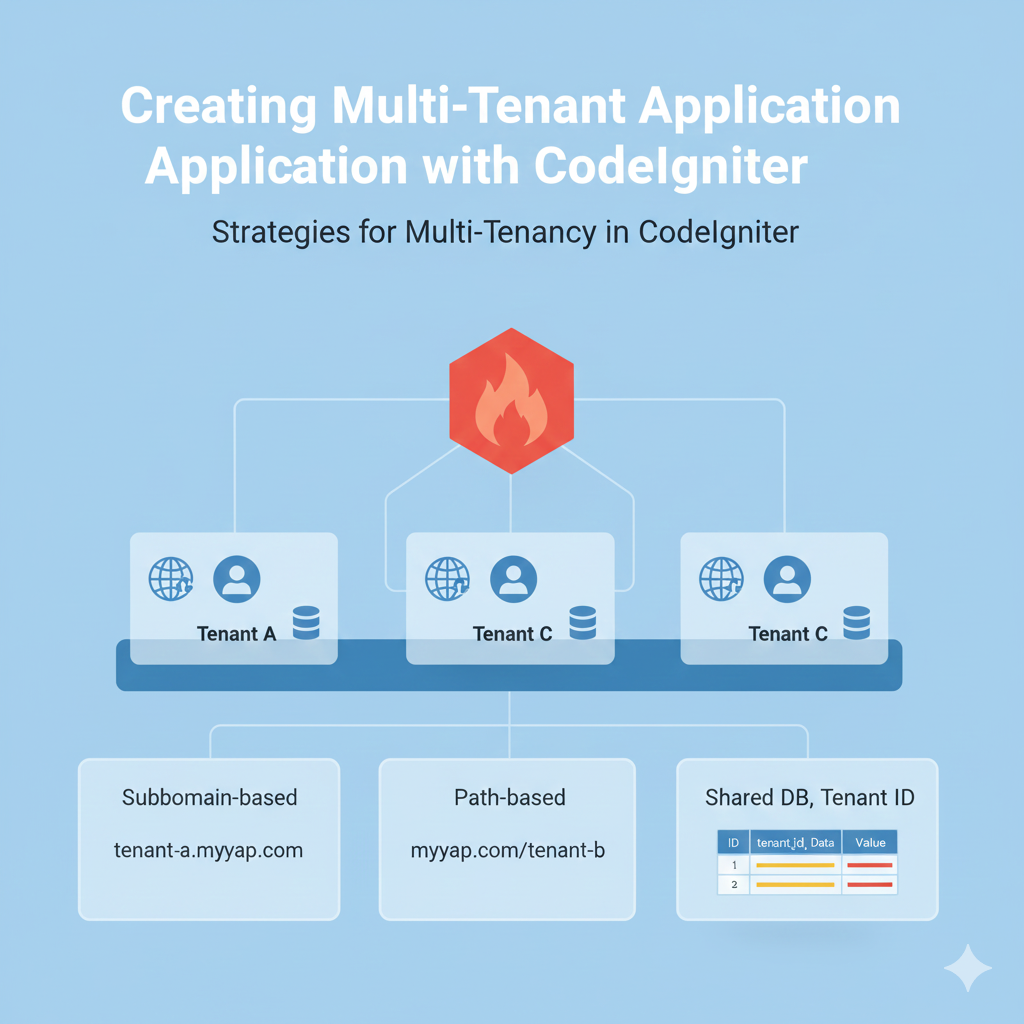
3. Shared Database, Shared Schema (The "Tenant ID" Approach)
All tenants share the same tables, but a tenant_id column distinguishes the data.
- Pros: Easiest to scale and maintain.
- Cons: Requires careful coding to ensure one tenant cannot see another's data.
- Implementation: Use CodeIgniter Models to automatically filter queries by tenant_id.
How to Identify Tenants in CodeIgniter
You must determine which tenant is accessing the site before loading any data. Common strategies include:
- Subdomain-based: client-a.your-saas.com (Professional and SEO-friendly).
- Path-based: your-saas.com/client-a (Easier to set up without DNS changes).
- Header-based: Used primarily for mobile apps or headless APIs.
Implementation Tip: Middleware Identification
In CodeIgniter 4, use Filters to intercept the request and set the tenant context globally:

Step-by-Step Implementation Strategy
- Master Database: Maintain one central database to store tenant credentials and their specific configuration (e.g., custom colors, database names).
- Dynamic Connection Switching: If using separate databases, use the Config\Database::connect() method to switch connections on the fly based on the tenant identified in the filter.
- Automated Migrations: Use a custom CLI command to loop through all tenant databases and run migrations simultaneously.
- Scoped File Storage: Ensure file uploads are stored in tenant-specific folders: writable/uploads/tenant_1/.
Conclusion
Building a multi-tenant application with CodeIgniter is a powerful way to launch a SaaS product. Whether you choose a shared database for simplicity or separate databases for security, CodeIgniter provides the tools to manage tenant isolation effectively.